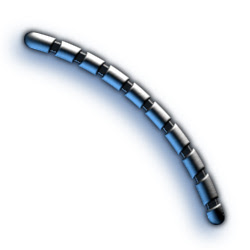
Create a new image, 250x250 pixels. As the main background color choose a dark gray. Now create a new layer and with the Pen tool or Paintbrush draw a line form the desired width 15 pixels.
Such a curve, I think, not difficult to draw. Should look as shown.
Call the layer "Wire"
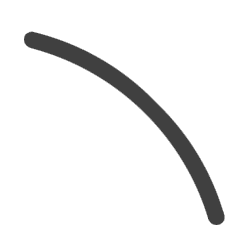 Make a copy layer Wire by dragging its icon on the New Layer button (New Layer). Rename the new layer in the "Cut Wire".
Now hide the layer Wire, clicking on the icon in the Layers panel on the eyes (Layers). This layer is useful to us later.
Now select the Eraser tool (Eraser), define the size of the brush within 5 pixels, and with it will give the type of curve shown in the figure.
 Hold Ctrl, click on the invisible layer of Wire in the Layers panel.
Thus to create a selection, not taking into account the transparency of the layer "Wire".
We move then to the panel channels and a Save selection as channel - button.
Our next step is to rename the new Channel in the "Wire Bevel". Done!
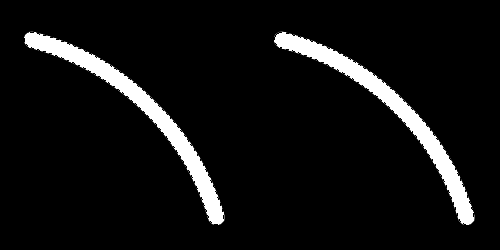
Apply to the Channel "Wire Bevel" filter Gaussian Blur (Filter > Blur > Gaussian Blur) with the option Radius first 9 pixels, and then 6, then 3 pixels, and finally 1 pixel.
Apply now to release AutoLevels, Ctrl + Shift + L, and look what happened. ... We are almost done.
Let's get back to the panel layers, and while holding Ctrl click on the layer "Cut Wire", to select its transparency. Then again, turn to the panel Channels, click on the channel "Wire Bevel", press D, to reset the color, inverse the selection using the keyboard shortcut Ctrl + Shift + I, and in the end, Clear selection, press Del.
Remove the selection - Ctrl + D.
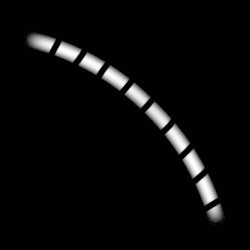
Let's go back to the panel "layers" and will make the active layer "Cut Wire".
Then open the dialog box Lightning Effects (Filter > Render > Lighting Effects).
Now - the main thing. Create a white Directional light from top to bottom - from the upper right corner - as shown in the picture. Then, create a blue light directed towards the bottom up - from the bottom left.
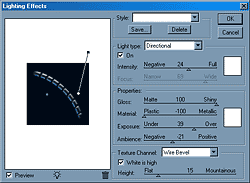
Define the following parameters:
Gloss: 100 Shiny
Material: -100 Plastic
Exposure: 39
Ambience: -21
Setup Texture Channel to the position of "Wire Bevel" and determine its height of 15.
Now set the direction of illumination in such a way as to achieve the most desired effect.
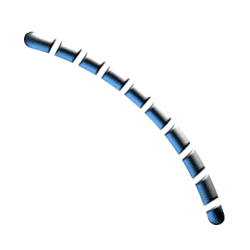 Finally, make visible the layer "Wire". Once again, click on it, hold Ctrl, to make the selection.
To make a line of 1 pixel is thinner, inverse the selection - Ctrl + Shift + I, then go to Select> Modify> Expand, enter a value of 1 pixel, Clear Selection - Del and remove it using Ctrl + D.
And the last step: Filter> Render> Lighting Effects.
Setup Texture Channel on the Wire Transparency.
Click OK, added at the discretion of Shadow (Drop Shadow), and all - ready!

1 comment:
Thanks mate.
Post a Comment