Wednesday, February 4, 2009

Lesson 9. How to draw a Metal Surface

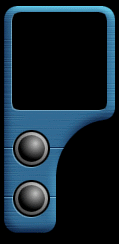
Here we explain the method of creating textures is very suitable for creating all kinds of interfaces. The effect looks good in the use of metallic colors and, most importantly, easy to use.


Highlight the desired contour, fill the blue color (Shift + F5). Increase the radius of the allocation of [Select> Modify> Expand] to six pixels.
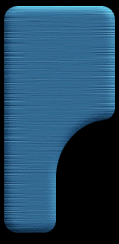


Create a new layer and fill the existing allocation of its white color (Shift + F5). Add noise [Filter> Noise> Add Noise] with values:
Amount: 280
Distribution: uniform
Monochromatic: checked
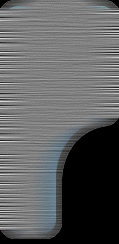


Not removing the provision blur that layer [Filter> Blur> Motion Blur] with values:
Angle: 0
Distance: 60
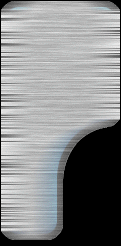


Apply the following filter [Filter> Stylize> Emboss] with the following values:
Angle: -120
Height: 2
Amount: 60


Change the layer mode from normal to softlight in the layers palette.


Sunday, January 18, 2009

Photoshop Lesson #8: Detalisation

With the help of selection you need to create a region for work. Fill the selected area with any color that you want. I choose a light brown color.

In order to give your selection some depth, use a dark airbrush and gently shadow the one side of selected area. Use a light airbrush and enlight the other side.

Now choose any texture that you want from your own collection, and apply it on top. Set the transparency to 50-60%.

I'm usually create a new layer and then draw a set of thin lines and blur them, so they add a vintage-look to image. Then I start to shadow their edges with the help of dark airbrush tool.

That's how it looks like after using dark airbrush tool.

Now, simply combine layers and duplicate the resulting layer. You'll probably need to do a little bit more work on the image, but it should look something like this.